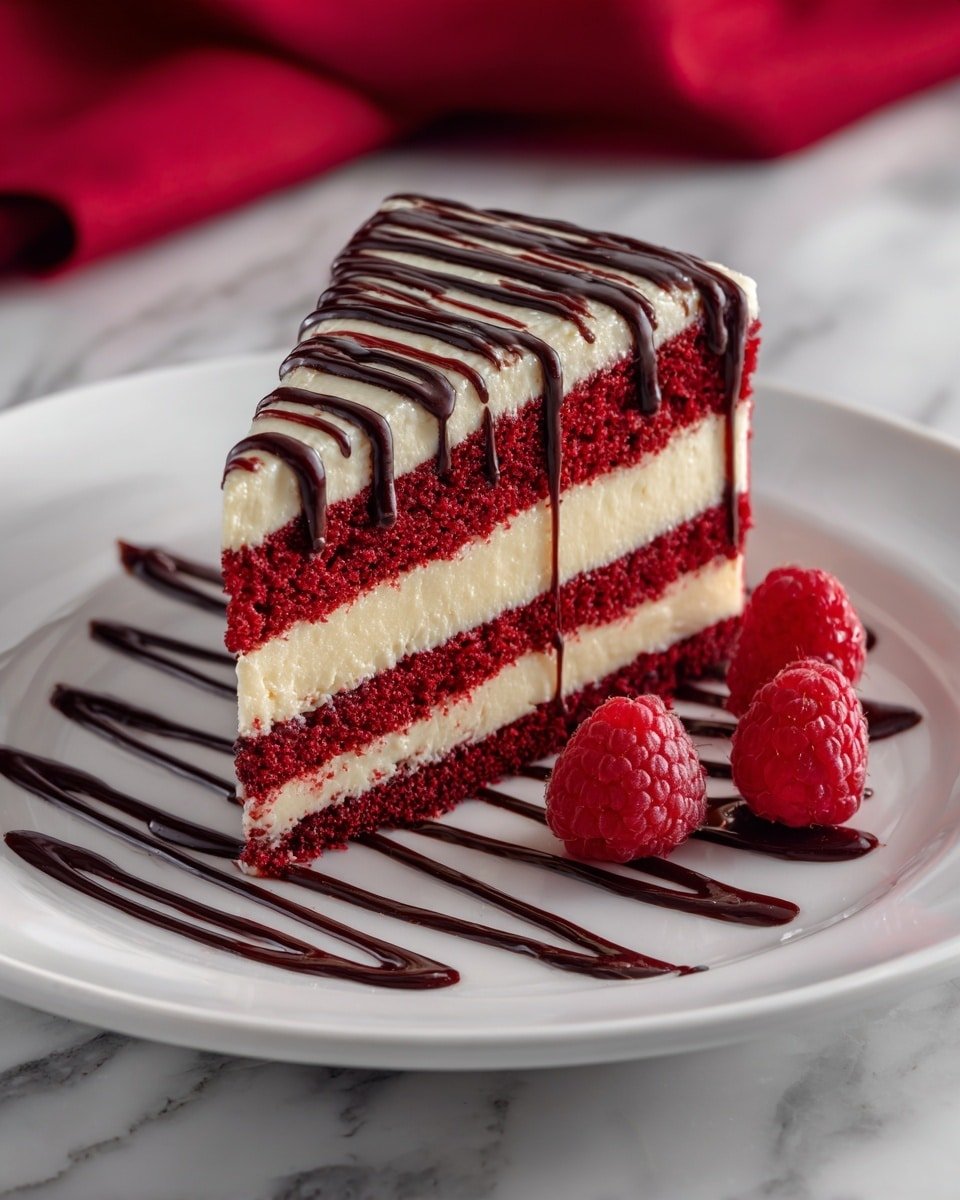
There’s nothing quite like a classic Red Velvet Cake with Cream Cheese Frosting Recipe to bring a touch of elegance to any celebration or cozy weekend treat. This cake is wonderfully moist with that iconic gentle cocoa flavor and a velvet-smooth crumb, all wrapped in a tangy, luscious cream cheese frosting. If you’ve never made red velvet from scratch, this recipe will become your go-to for birthdays, holidays, or just when you want a bit of sweet comfort at home.
Jump to:
Why You’ll Love This
This Red Velvet Cake with Cream Cheese Frosting Recipe strikes the perfect balance between subtle cocoa richness and that unmistakable tang from cream cheese—making it a crowd-pleaser every time.
- Reliable Texture, Great Flavor: Using buttermilk and vinegar helps tenderize the crumb while boosting flavor depth.
- Crisp–Golden Finish: Baking at a moderate temperature ensures a tender exterior without drying the cake.
- Pantry-Friendly Ingredients: This recipe depends on everyday staples with a small twist, like espresso-enhanced cocoa.
- Weeknight Easy, Weekend Worthy: It’s surprisingly straightforward to prepare but looks and tastes like you spent hours.
Ingredient Snapshot
Quality ingredients elevate your Red Velvet Cake with Cream Cheese Frosting Recipe, especially fresh buttermilk and cream cheese for tangy moisture and smooth frosting texture.
- Unsweetened cocoa powder: Use natural, not Dutch-processed, to preserve the subtle acidity needed for red velvet's signature taste.
- Buttermilk: Fresh or cultured buttermilk ensures tender crumb and helps the cake's rise.
- Red gel food coloring: Gel works best to get vibrant color without changing batter consistency.
- Cream cheese: Full-fat, at room temperature for smooth, lump-free frosting.
Quick Note: Exact measurements are in the printable recipe card at the bottom.
How to Make Red Velvet Cake with Cream Cheese Frosting Recipe
Step 1 — Prepare Your Batter
Begin by preheating your oven to 325°F and preparing three 8-inch cake pans with parchment rounds and a generous spray of nonstick cooking spray—you want to ensure your cakes slip out cleanly. Next, whisk together your hot coffee (which enhances the cocoa flavor) and cocoa powder, then let it sit for 5 minutes to bloom. While that’s resting, sift your dry ingredients together so there won’t be any lumps. Mixing wet ingredients starts with combining sugar, oil, and melted butter until smooth, then adding eggs and yolks one at a time—a quick whisk here prevents any eggy pockets. Gradually add in buttermilk, vanilla, food coloring, and the vinegar-coffee mix, making sure everything is blended before folding in the sifted flour. I like to sift it slowly, mixing after each addition to avoid dense streaks.
Step 2 — Baking Your Red Velvet Cake with Cream Cheese Frosting Recipe
Divide the batter evenly among the prepared pans, tapping them gently on the counter to release any trapped air for an even crumb. Bake for 25 to 30 minutes—check your cakes at the 25-minute mark with a toothpick; it should come out clean or with a few moist crumbs, never wet batter. The tops will look slightly spongy but resist the urge to overbake, which dries out the cake. After removing them from the oven, place pans on a wire rack. When cool enough to handle, loosen edges with a knife and invert the cakes onto your racks to cool fully. This step is key for a cake that layers beautifully without crumbling.
Step 3 — Smooth Cream Cheese Frosting & Assembly
For the frosting, beat cream cheese and butter on medium-high speed until ultra-light and creamy—it takes a good few minutes to get that fluffy texture, so don’t rush. Scrape down the bowl edges to keep mixing consistent. Add vanilla, then on low speed, gradually add sifted powdered sugar, beating until the frosting clouds up and feels spreadable. If it gets too thick, a splash of milk helps; too thin? Add more powdered sugar. To assemble, start with one cake layer, frost generously, then stack the next, repeating until all layers are stacked. Use the remaining frosting to cover the cake smoothly. For a fun trick, tuck strips of parchment under edges to keep your plate clean while frosting.
Smart Little Tips
Through many birthday parties and weekend bakes, I’ve found a few little tricks that take this Red Velvet Cake with Cream Cheese Frosting Recipe from great to unforgettable.
- Doneness Cue: Look for a springy surface that bounces back when lightly pressed, alongside a clean toothpick.
- Temperature Trick: Use room temperature eggs and dairy for smooth batter blending without lumps.
- Make-Ahead Move: The cake layers can be baked a day ahead and wrapped tightly in plastic wrap and foil.
- Avoid This Pitfall: Don’t overmix the batter after adding flour to keep the crumb tender, not dense.
Serving Ideas
Finishing Touches
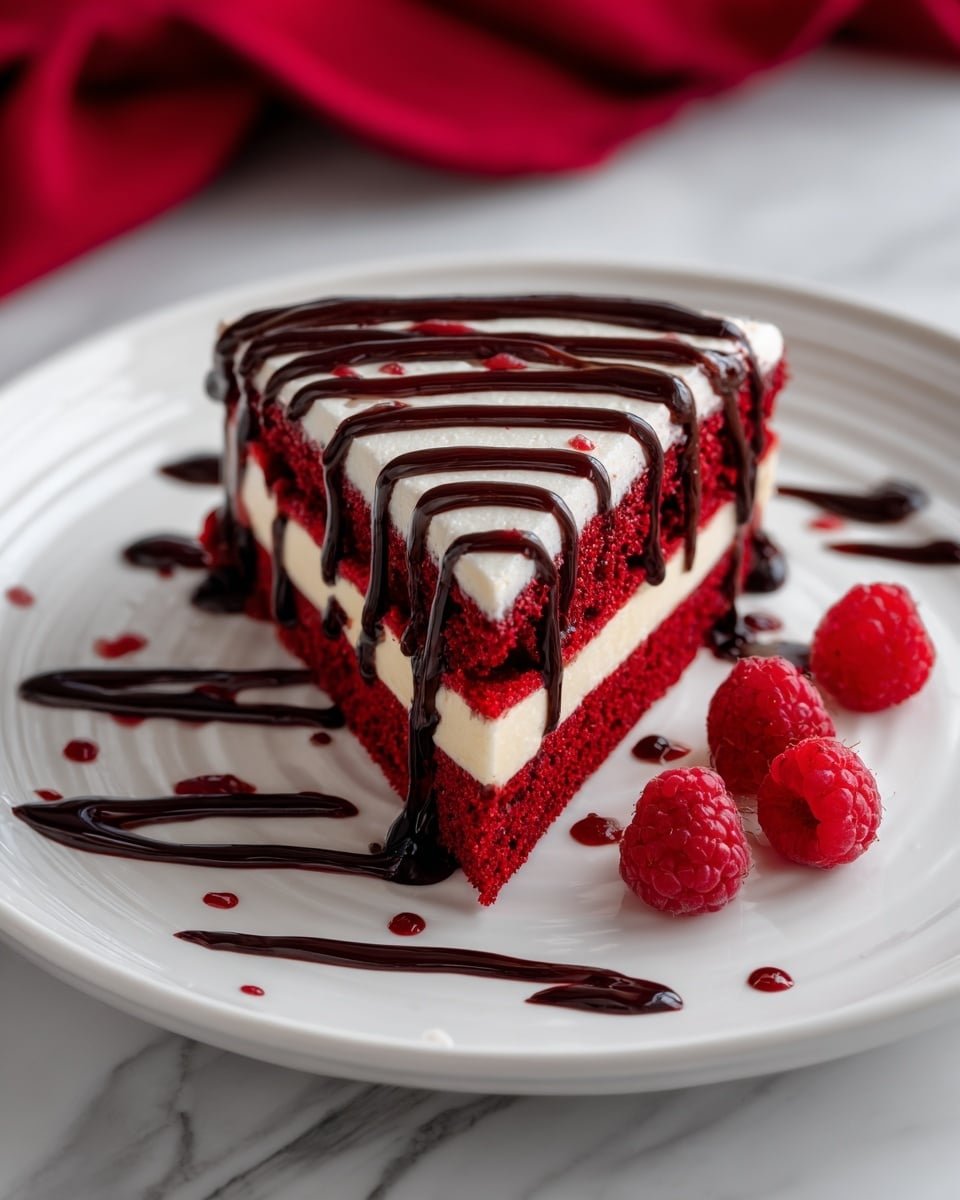
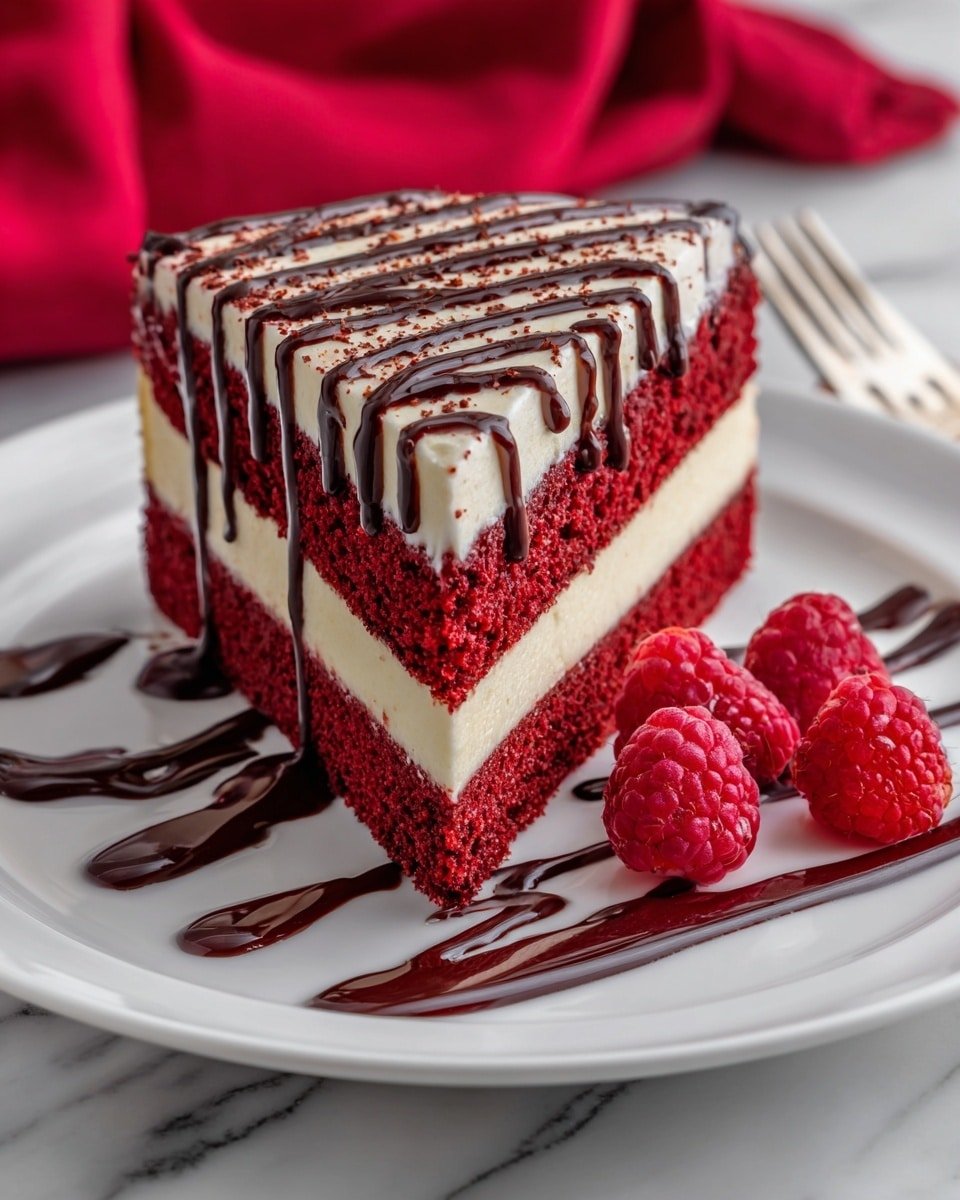
I love to finish this Red Velvet Cake with Cream Cheese Frosting Recipe with a dusting of cocoa powder or a handful of fresh berries for contrast. A sprinkle of toasted nuts also adds a subtle crunch that pairs beautifully with the silky frosting. Keep it simple or get creative with edible flowers for a show-stopping centerpiece.
Pair It With
For balance, serve slices alongside a lightly brewed cup of coffee or tea. If you want to add texture, a dollop of fresh whipped cream or a scoop of vanilla ice cream complements the cake perfectly—especially when the frosting is a bit tangy.
Easy Plating Upgrades
Try slicing the cake into neat squares instead of rounds for a casual party vibe. A simple drizzle of melted white or dark chocolate over the top or a scattering of festive sprinkles makes this cake perfect for any occasion, from weeknight dessert to holidays.
Make-Ahead, Store & Reheat
Storing Leftovers
Store leftover cake in an airtight container or tightly wrapped with plastic wrap in the refrigerator for up to three days. The cream cheese frosting keeps it moist, but the cake does best enjoyed within this window. Let it come to room temperature before serving for the most flavor and texture.
Freezing Tips
This Red Velvet Cake with Cream Cheese Frosting Recipe freezes well whole or in slices. Wrap the cake tightly in plastic wrap, then foil, and freeze for up to two months. Thaw overnight in the fridge, then bring to room temperature before serving to keep the frosting fluffy and cake tender.
Reheating Red Velvet Cake with Cream Cheese Frosting Recipe Without Drying Out
If your cake has been refrigerated, a short burst in the microwave (15–20 seconds) covered loosely with a paper towel can revive softness. Avoid overheating, which dries out the crumb. For larger slices, warming in a 300°F oven for about 10 minutes wrapped in foil keeps moisture locked in while gently warming the frosting.
Frequently Asked Questions
Buttermilk adds acidity that reacts with baking soda, creating a light, tender crumb with subtle tang. If you don't have buttermilk, mix 1 cup of milk with 1 tablespoon of lemon juice or vinegar and let it sit for 5 minutes.
Hot coffee intensifies cocoa flavor without making the cake taste like coffee. It enhances the chocolate notes for that rich red velvet taste.
A toothpick inserted in the center should come out clean or with a few moist crumbs. The cake’s top will look springy and slightly spongy but not wet.
Absolutely! You can make the frosting a day ahead and store it in an airtight container in the fridge. Bring it back to room temperature and beat briefly before using.
Final Thoughts
Making this Red Velvet Cake with Cream Cheese Frosting Recipe always feels like a little celebration in my kitchen. With its delicate cocoa undertones, vibrant color, and luscious frosting, it’s a classic that’s worth the effort. Whether you’re baking for a special occasion or just because you deserve it, this recipe ensures success and smiles all around—plus, you really can’t go wrong with a cake that tastes as good as it looks!
PrintPrint Recipe
Red Velvet Cake with Cream Cheese Frosting Recipe

A classic Red Velvet Cake recipe featuring moist, tender layers flavored with cocoa and buttermilk, topped with creamy homemade cream cheese frosting. Perfect for celebrations and indulgent desserts.
- Prep Time: 30 minutes
- Cook Time: 30 minutes
- Total Time: 1 hour
- Yield: 12 servings
- Category: Dessert
- Method: Baking
- Cuisine: American
- Diet: Vegetarian
Ingredients
For the Cake:
- ½ cup plain hot coffee or boiling water
- ¼ cup (21 grams) unsweetened natural cocoa powder
- 2 ¼ cups (279 grams) all-purpose flour
- ½ teaspoon baking powder
- 1 teaspoon baking soda
- 1 teaspoon fine sea salt
- ¼ teaspoon ground cinnamon, optional
- 2 cups (400 grams) granulated sugar
- ½ cup (109 grams) fresh vegetable oil
- 1 stick (113 grams) unsalted butter, melted
- 2 large eggs, at room temperature
- 1 large egg yolk, at room temperature
- 1 cup buttermilk, at room temperature
- 2 teaspoons vanilla extract
- 3 teaspoons red gel food coloring, plus more if needed
- 1 teaspoon distilled white vinegar
For the Cream Cheese Frosting:
- 16 ounces (454 grams) cream cheese, at room temperature
- 2 sticks (227 grams) unsalted butter, at room temperature
- 2 teaspoons vanilla extract
- 4 cups (500 grams) powdered sugar, sifted
Instructions
- Preheat and Prepare Pans: Preheat the oven to 325°F. Line three 8-inch cake pans with parchment rounds and spray the parchment and sides generously with nonstick cooking spray.
- Mix Cocoa and Coffee: In a glass measuring cup, whisk the hot coffee and cocoa powder together. Cover and let it stand for 5 minutes to allow the cocoa to dissolve fully.
- Combine Dry Ingredients: In a medium bowl, whisk together the flour, baking powder, baking soda, salt, and optional ground cinnamon to evenly distribute the leavening agents and spices.
- Mix Wet Ingredients: In a large bowl, whisk the granulated sugar, vegetable oil, and melted butter until combined. Add the eggs and yolk and whisk vigorously for about 20 seconds until very well combined. Stir in the buttermilk, vanilla extract, and red gel food coloring until blended.
- Add Vinegar and Cocoa Mixture: Whisk in the distilled white vinegar, then add the coffee and cocoa mixture and combine thoroughly.
- Incorporate Dry Ingredients: Using a fine mesh sieve, sift the dry flour mixture into the wet batter in three additions, whisking after each addition until fully incorporated and smooth but not overmixed.
- Divide Batter and Bake: Divide the batter evenly among the prepared pans. Tap the pans on the counter gently several times to release any trapped air bubbles. Bake for 30 minutes or until a toothpick inserted in the center comes out clean and the tops are slightly springy.
- Cool Cakes: Place the pans on cooling racks. Once cool enough to handle, run a thin knife around the edges to loosen the cakes. Invert the cakes onto wire racks and allow them to cool completely before frosting.
- Make Frosting: In a stand mixer fitted with the paddle attachment, beat cream cheese and butter on medium-high speed until very light, creamy, and smooth. Scrape down sides to remove clumps. Add vanilla and combine. Gradually add sifted powdered sugar on low speed and beat until light and fluffy, about 3 minutes. Adjust consistency with small amounts of milk or powdered sugar as needed.
- Assemble the Cake: Place one cake layer flat-side up on a cake plate. Use strips of baking paper under the edges to keep the plate clean. Spread about a third of the frosting on top. Repeat layering for the second cake layer and then the third. Use remaining frosting to ice the top and sides evenly.
- Store: Cover the assembled cake and refrigerate for up to 3 days to maintain freshness and texture.
Notes
- Ensure all ingredients, especially eggs, buttermilk, and butter, are at room temperature for best batter texture.
- You can substitute brewed coffee with hot water if you prefer a milder cocoa flavor.
- If red gel food coloring is unavailable, a liquid or powdered red food coloring can be used, but gel yields more vibrant colors.
- Use parchment strips instead of spraying the pans if you prefer easier cake release.
- For a dairy-free version, substitute cream cheese and butter in frosting with vegan alternatives.
- Allow cakes to cool fully before frosting to prevent the frosting from melting.


Leave a Reply