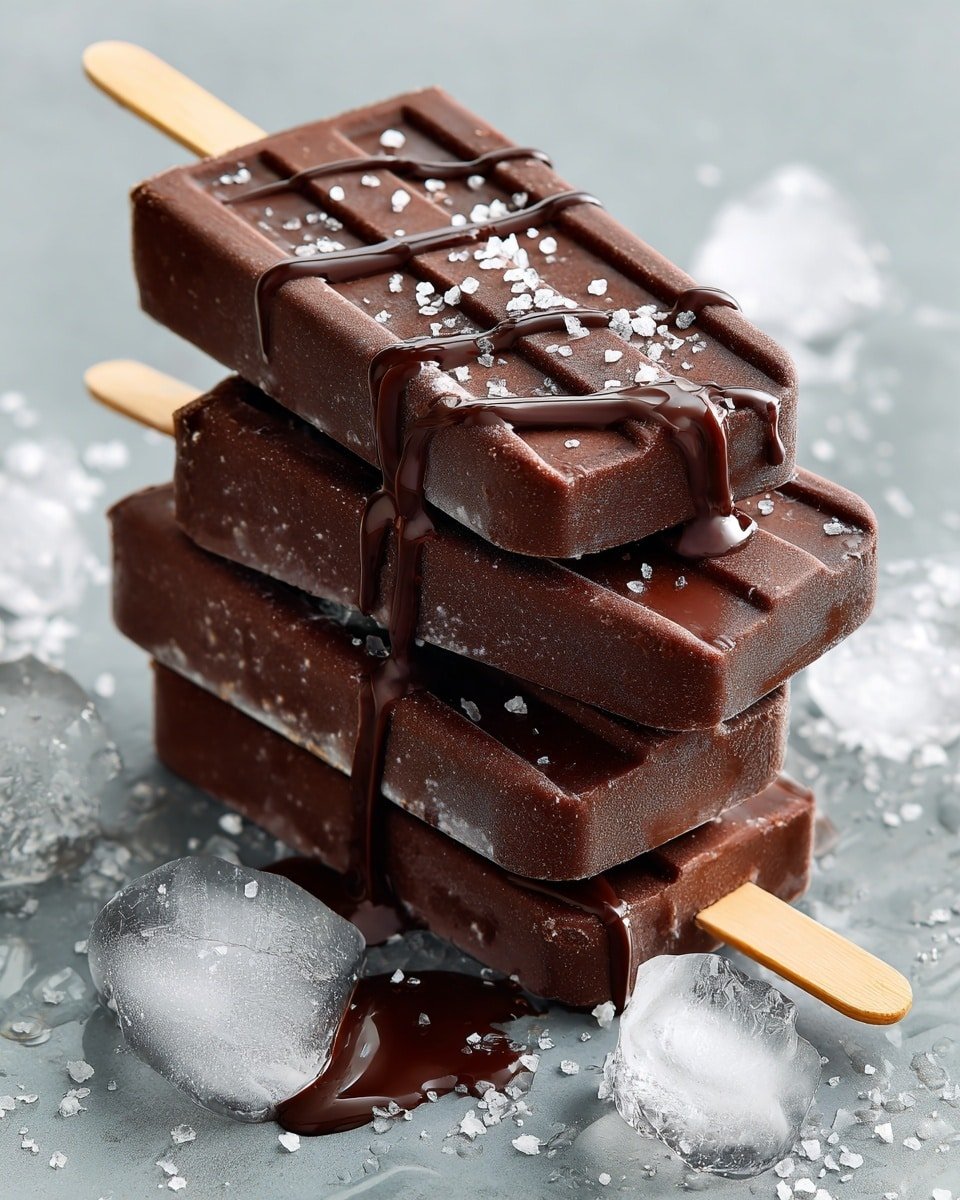
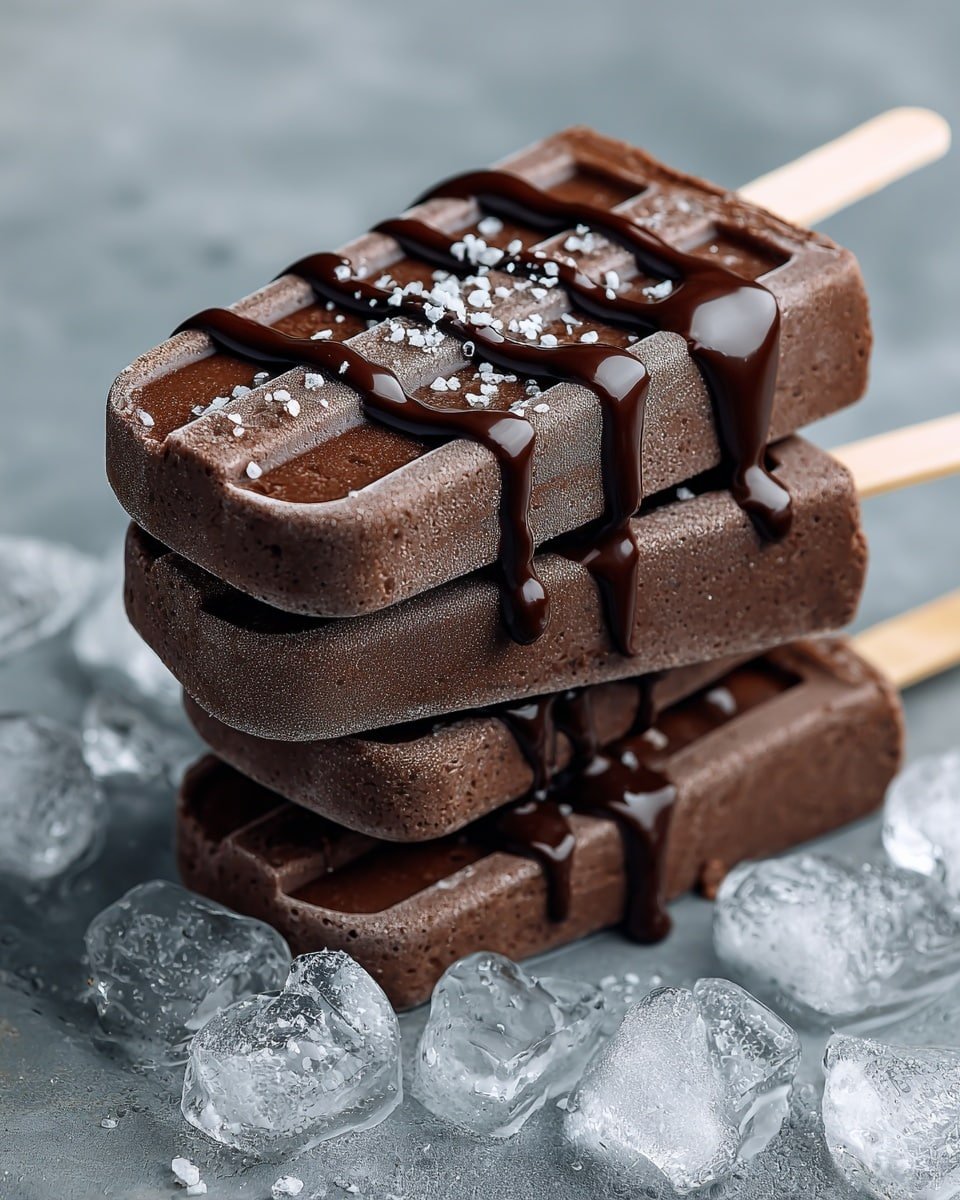
If you’re looking for a guilt-free treat that’s both delicious and easy to whip up, this Healthy Banana Cocoa Fudgesicles Recipe is your new best friend. Perfect for warm afternoons or after-dinner indulgence, these fudgesicles combine ripe bananas and rich cocoa to deliver a cool, creamy bite that feels like dessert but fuels you right. I love how simple they are to make — you’ll notice how naturally sweet and chocolatey they taste without any heavy cream or added sugars.
Jump to:
Why You’ll Love This
This Healthy Banana Cocoa Fudgesicles Recipe is a refreshing, wholesome treat that doesn’t compromise on flavor or texture. Whether you want a midday pick-me-up or a dessert that satisfies your sweet tooth without the guilt, these fudgesicles have you covered.
- Reliable Texture, Great Flavor: The creamy banana base combined with rich cocoa powder creates a smooth, fudgy consistency that's both satisfying and naturally sweet.
- Crisp–Golden Finish: Freezing them perfectly to just the right firmness gives you a pleasantly icy bite that melts delightfully on your tongue.
- Pantry-Friendly Ingredients: You probably already have all of these ingredients at home, making this recipe simple and accessible any time the craving hits.
- Weeknight Easy, Weekend Worthy: They’re quick to prepare and perfect for those moments when you want something special but don’t want to fuss.
Ingredient Snapshot
Choosing the right ingredients will make all the difference in this Healthy Banana Cocoa Fudgesicles Recipe. Each component plays a unique role in flavor, texture, and sweetness. Here’s what to keep in mind as you gather your supplies.
- Ripe Bananas: Pick bananas with smooth yellow skins streaked with a few brown spots — that’s when they’re sweet and creamy enough to shine.
- Unsweetened Almond Milk: A neutral, dairy-free base that keeps these fudgesicles light yet creamy. You can swap for oat or cashew milk if you prefer.
- Pure Cocoa Powder: Use unsweetened, high-quality cocoa powder for a deep chocolate flavor with no bitterness.
- Honey or Maple Syrup: These natural sweeteners add just the right touch of sweetness and balance the cocoa’s bitterness effortlessly.
- Vanilla Extract: A splash elevates the chocolate and banana flavors, making the fudgesicles richer and more complex.
- Pinch of Salt: Salt brings out the sweetness and rounds out all the flavors beautifully.
Quick Note: Exact measurements are in the printable recipe card at the bottom.
How to Make Healthy Banana Cocoa Fudgesicles Recipe
Step 1 — Set Up & Season
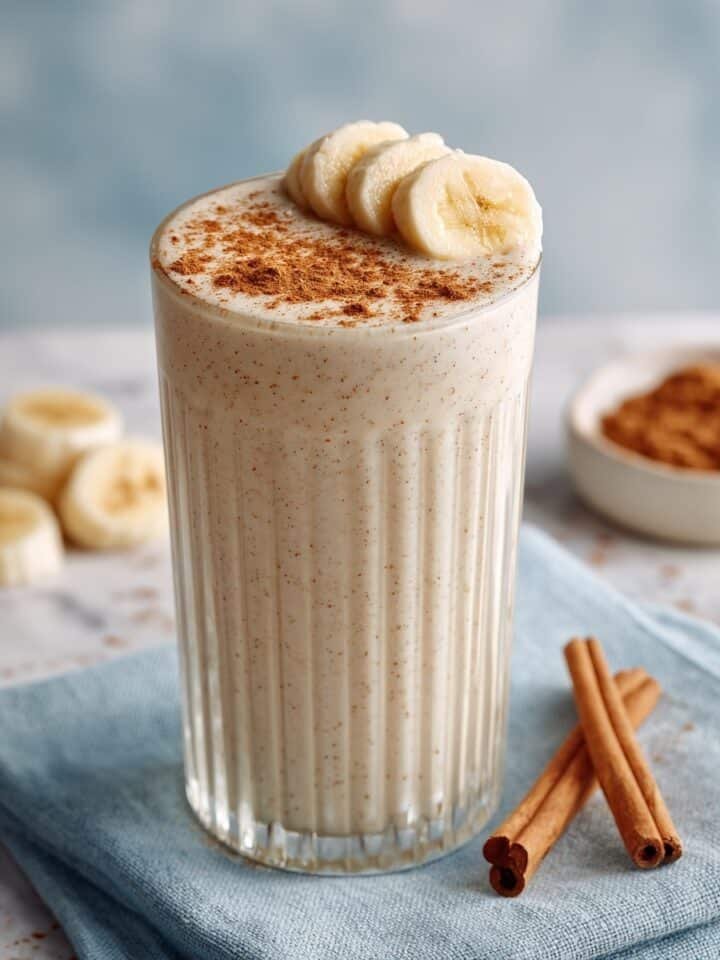
Begin by peeling your ripe bananas and breaking them into chunks. This makes blending smoother and quicker. In your blender or food processor, add the banana pieces along with the unsweetened almond milk, pure cocoa powder, honey or maple syrup, vanilla extract, and a pinch of salt. You’ll want to blend these together on medium-high speed until the mixture is silky smooth. I like to pause and scrape down the sides to ensure even mixing. Taste the mixture to gauge sweetness — it should remind you of a creamy, chocolatey milkshake. If it’s a touch bitter or bland, add a little more honey or syrup, and blend again.
Step 2 — Pour & Freeze
Once your fudgesicle batter is perfectly smooth and sweet, pour it evenly into your popsicle molds. You want to leave about half an inch of space at the top of each mold to allow the mixture to expand as it freezes. Insert the popsicle sticks, then place the molds in your freezer without delay. To get the best creamy texture, let them freeze for at least 4 to 6 hours — overnight works wonders, too. It’s tempting to check early, but giving the mixture enough time ensures those fudgesicles hold their shape and are easy to unmold.
Step 3 — Remove & Enjoy Your Healthy Banana Cocoa Fudgesicles Recipe
When you’re ready to enjoy, run warm water briefly over the outside of the popsicle molds; just 10–15 seconds is enough. This loosens the edges without melting the fudgesicles. Gently wiggle and pull the sticks — they should slide right out, revealing beautifully firm, deep chocolate treats. If they resist, a little more warm water will help. Now, take a bite and discover the creamy, rich flavor that makes this recipe so satisfying. Store any leftovers in an airtight container in the freezer so you can return to this quick delight anytime.
Smart Little Tips
I’ve learned a few things from making this Healthy Banana Cocoa Fudgesicles Recipe over and over — and I want you to get it just right without fuss. Here are my go-to pointers to save you time and trouble.
- Doneness Cue: The fudgesicles should be fully solid to the touch before unmolding; any softness means they need more freeze time.
- Temperature Trick: Use lukewarm water — too hot will start melting, too cool won’t loosen the molds well.
- Make-Ahead Move: Freeze them in a single layer first, then pop them out and store in a zip-top bag to prevent freezer burn and sticking.
- Avoid This Pitfall: Don’t skip the pinch of salt; it subtly brings out the chocolate flavor and balances the sweetness perfectly.
Serving Ideas

Finishing Touches
I like sprinkling a few mini chocolate chips or a handful of crushed nuts on top right before serving. The contrast of crunch adds a lovely texture to the smooth fudgesicles. A dusting of cocoa powder or a drizzle of natural peanut butter can also make these pops extra special — and you can easily customize depending on your mood.
Pair It With
A warm cup of herbal tea or a cold glass of freshly brewed iced coffee pairs wonderfully with these fudgesicles. The warmth of tea contrasts nicely with the cold, or you can double-down on chocolate by serving with a light chocolate almond milk for a true indulgence.
Easy Plating Upgrades
If you’re serving for guests or just want to make the moment feel special, try presenting the fudgesicles on a bed of crushed ice with fresh banana slices and a few mint leaves for color and freshness. Cups lined with resealable parchment paper can also keep things tidy and charming for casual get-togethers.
Make-Ahead, Store & Reheat
Storing Leftovers
Keep leftover Healthy Banana Cocoa Fudgesicles tightly sealed in an airtight container or zip-top freezer bag to prevent freezer burn and off-flavors. Stored this way, they’ll stay fresh and flavorful for up to two weeks. Make sure to press out as much air as possible before sealing.
Freezing Tips
These fudgesicles freeze excellently because of their smooth base. To avoid clumping or frost buildup, freeze them solid in the molds first, then pop them out and transfer to a freezer-safe bag. This method keeps them nicely separated and easy to grab individually.
Reheating Healthy Banana Cocoa Fudgesicles Recipe Without Drying Out
Since these are frozen treats, reheating isn't typically needed. However, if you want a softer, spoonable dessert, leave the fudgesicle at room temperature for 5 minutes or microwave on low power in short bursts (10 seconds) to avoid melting too fast. This keeps them creamy rather than watery.
Frequently Asked Questions
Absolutely! Whole or 2% milk works fine and will add a bit more creaminess, but almond milk keeps these dairy-free and light.
You can use small paper cups with wooden sticks or even silicone muffin molds—just make sure to wrap sticks with foil so they stand upright as they freeze.
Look for bananas with yellow skin speckled with brown spots and a sweet aroma—they’ll blend into a creamy, naturally sweet base perfect for these fudgesicles.
Yes, adding a scoop of your favorite protein powder can boost nutrition; just blend it thoroughly. Nuts or mini chips can be sprinkled on top before freezing for some extra texture.
Final Thoughts
This Healthy Banana Cocoa Fudgesicles Recipe is one of those simple pleasures that I keep coming back to during warmer days or whenever I want a sweet treat without the heaviness. The blend of banana and cocoa is comforting, familiar, and honestly, a little bit magic. I hope you enjoy making them as much as I do—they're a fantastic way to sneak in some fruit and satisfy chocolate cravings all at once. Feel free to experiment with your favorite milks or sweeteners, and you’ll have a personalized, wholesome dessert ready in under 10 minutes!
PrintPrint Recipe
Healthy Banana Cocoa Fudgesicles Recipe

These Healthy Fudgesicles are a delicious and nutritious frozen treat made with ripe bananas, unsweetened almond milk, and pure cocoa powder. Sweetened naturally with honey or maple syrup, they are perfect for a guilt-free dessert or snack that is easy to prepare and requires no baking.
- Prep Time: 10 minutes
- Cook Time: 0 minutes
- Total Time: 6 hours 10 minutes
- Yield: 6 servings
- Category: Dessert
- Method: Blending
- Cuisine: American
- Diet: Vegetarian
Ingredients
Main Ingredients
- 2 ripe bananas
- 1 cup unsweetened almond milk
- ¼ cup pure cocoa powder
- 2 tablespoons honey or maple syrup
- 1 teaspoon vanilla extract
- 1 pinch salt
Instructions
- Combine Ingredients: In a blender or food processor, combine the ripe bananas, almond milk, cocoa powder, honey or maple syrup, vanilla extract, and a pinch of salt.
- Blend Mixture: Blend until the mixture is smooth and creamy. Taste the mixture and adjust the sweetness if necessary by adding more honey or maple syrup.
- Fill Molds: Pour the fudgesicle mixture evenly into popsicle molds, leaving a little space at the top to allow for expansion during freezing.
- Insert Sticks and Freeze: Insert the popsicle sticks into the molds and freeze for at least 6 hours or until completely solid.
- Unmold and Serve: To remove the fudgesicles from the molds, run warm water over the outside of the molds for a few seconds and then gently pull on the sticks.
- Storage: Store any leftover fudgesicles in an airtight container in the freezer for up to 2 weeks.
Notes
- Ensure bananas are ripe for maximum sweetness and flavor.
- Adjust the sweetness to your preference by varying the amount of honey or maple syrup.
- If you don’t have almond milk, you can substitute with any other plant-based milk or cow's milk if not avoiding lactose.
- For a creamier texture, add a tablespoon of nut butter or avocado before blending.
- To easily remove fudgesicles, briefly run warm water on the mold exterior instead of leaving it too long to prevent melting.

Leave a Reply